

Planning your first DIY midi controller
When you are tired of big corporate garbage sloshing out everything except the simple tools or features you need. It may be time to dive in and design something that is just for you.
My first custom controller was built out of a few arcade buttons and a cardboard box with Arduino Leonardo. I was awful at soldering, knew nothing about code, and honestly was quite overwhelmed by the complicated youtube videos that really lost me while not helping me at all. After spending hours and hours looking for simple solutions I finally found the code I needed to make my basic momentary note controller work. I'll never forget the first time I pressed a button and like magic it worked!! Many years later I have learned that if you can make 1 button do something simple, you can make 20 buttons, pedals, encoders, etc work for you. Also now with the help of AI coding tools anything is achieveable with proper prompting. Start simple and work your way up. A lot of people think that they want a "spaceship" but really they just need a solid board of functions that operate effeciently.
Plan your layout, and buy solid tools
One of the toughest challenges to overcome was getting a solid enclosure. Post finding an enclosure getting all of the right tools. If you buy a sloped Hammond enclosure then all you have to do is drill the right sized holes. These enclosures, I have found are a much better place to start than wood. Also, consider ABS plastic enclosures as they are easier to fabricate than aluminum. Also, when it comes to tools don't buy the cheapest thing you can find. Get quality tools for the job. There is a comprehensive list here.
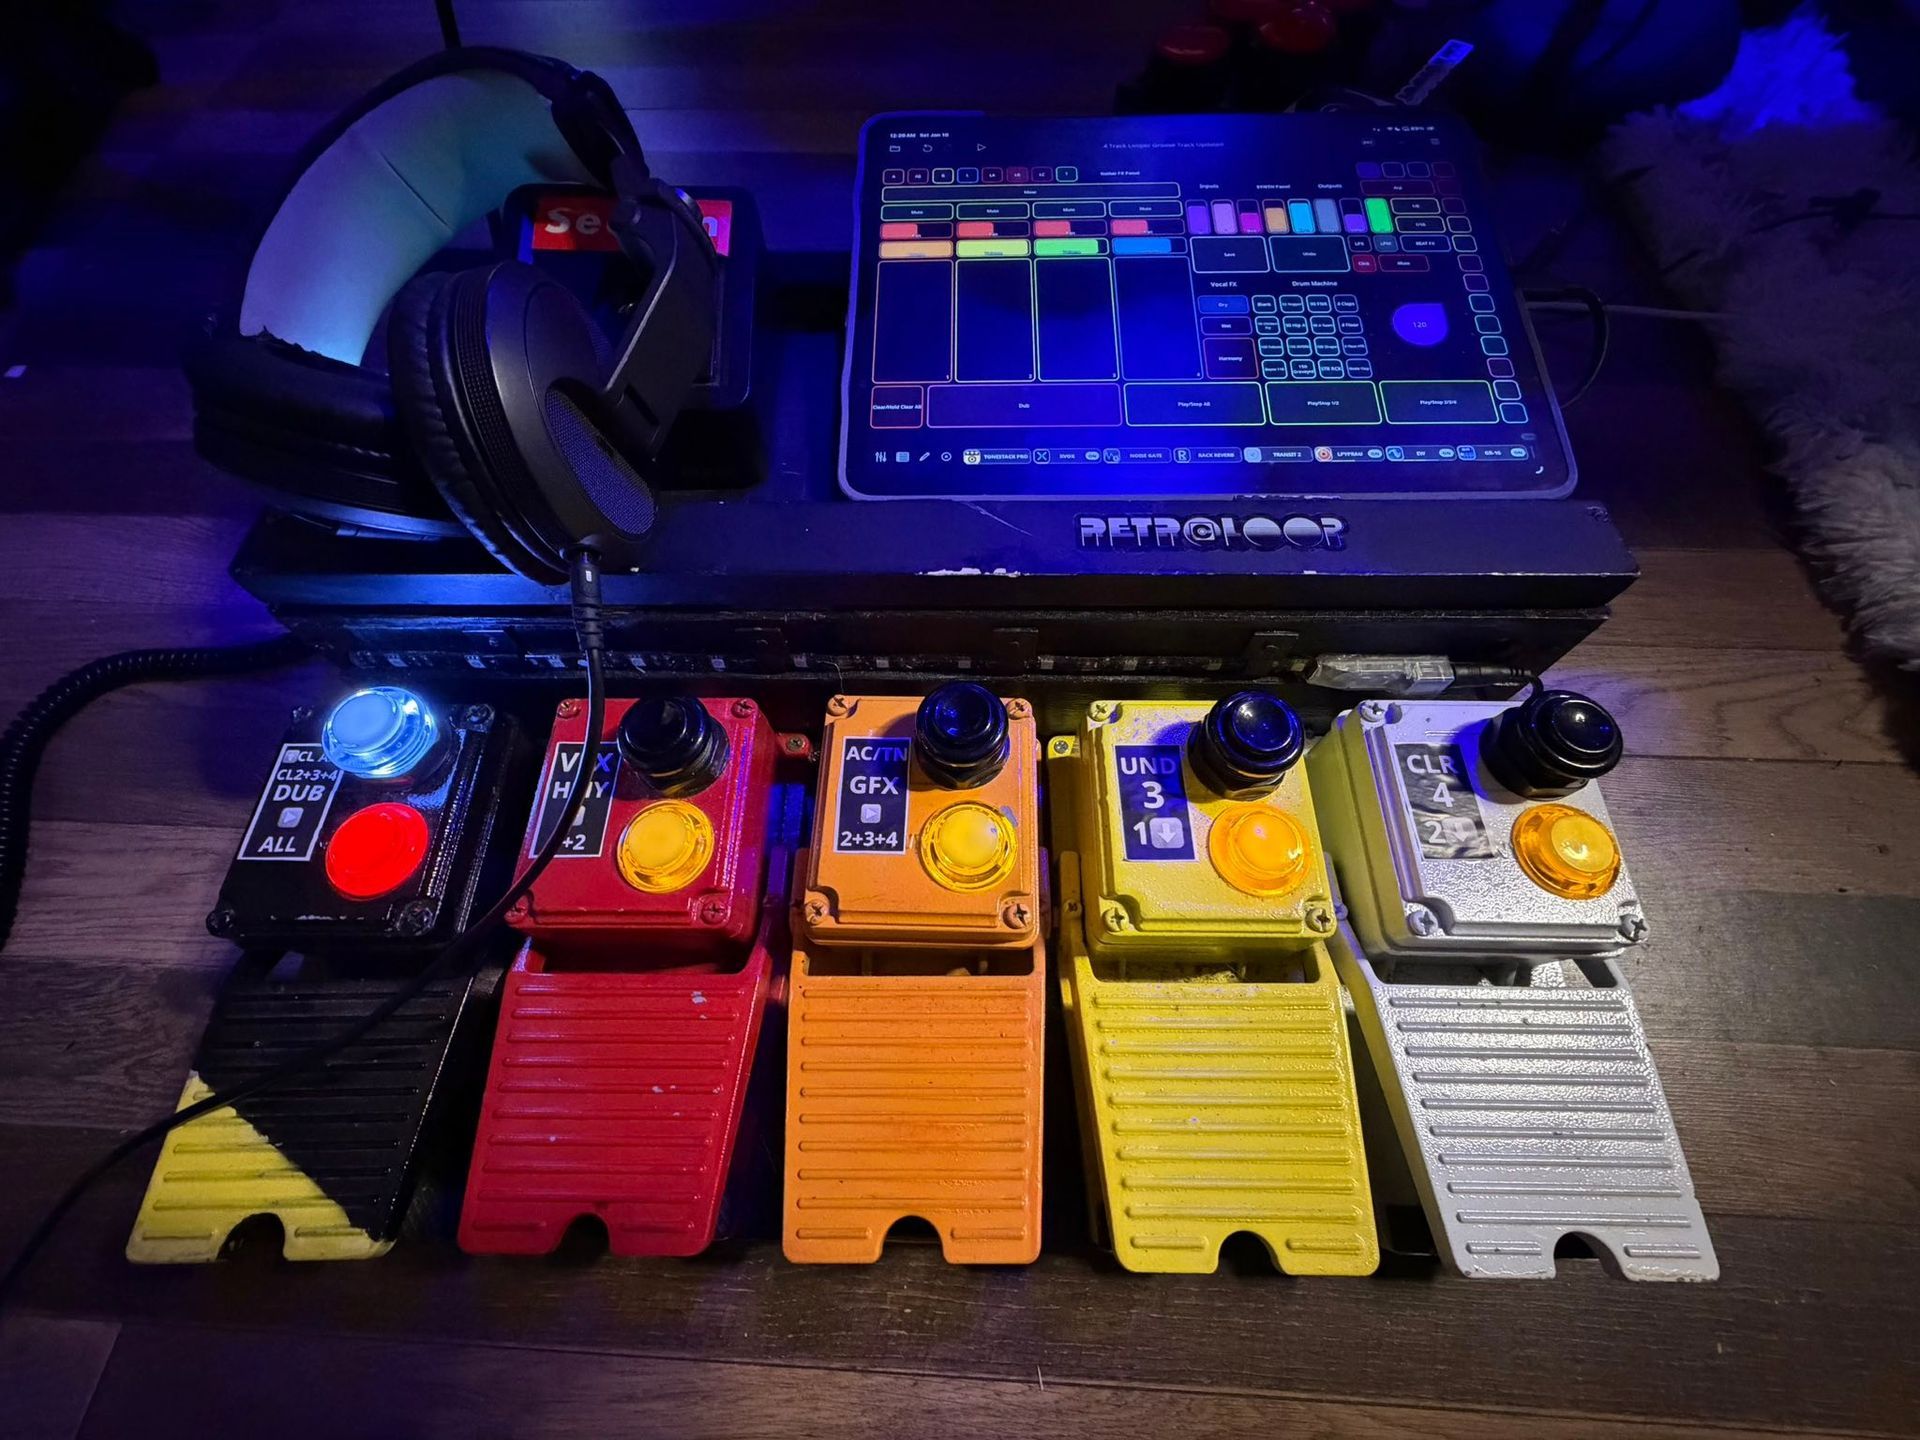
Layout is very important. When planning this I started by measuring from center to center of each footswitch on my multi guitar fx pedals to catch a vibe of what my spacing needed to be. This is where making a cardboard template can be great! Then you can get one of your shoes and put it on your hand and see realistically if the spacing is going to work. Once you have your layout grab a small level and use a piece of painters tape and a ruler to plot your center holes to keep them straight.
There is a ton of trial and error here, but ordering through Amazon can be helpful for easy returns. Believe it or not thoughit is much cheaper once you get the tools and know what you're doing to build your own USB midi pedals or controllers. Obviously there is some really cool stuff on the market, but it's marked WAAAAAY up. You will see this as you start to create. Avoid getting lost in a rabbit hole of spending by planning your cost and what you actually need over what you may just want to try.
The pedal you see above is one of my later creations, it looks amazing but you would be surprised at it's actual cost to build! Now it's time to start planning your controller. Good luck! You can do it!